Star Trails – 2016.02.03

Last fall, when I heard that Brenda Gael Smith was curating a new textile art exhibition, a matter of time, I decided to submit an entry.   Although my quilt was not one of the 32 selected, I really enjoyed the challenge, and I look forward to seeing the collection.  One of the conditions was that we could not publish our quilts prior to the selection process.  Now I can show you my entry – ‘Star Trails‘.

As you probably know, I’m thoroughly entranced with circles and all the various ways I can use them in quilts. So I looked for a way to interpret the concept of time with a circular design, and I stumbled across the concept of star trails – an amazing visual phenomena created with time-lapse photography.  A Google search revealed a wealth of images.

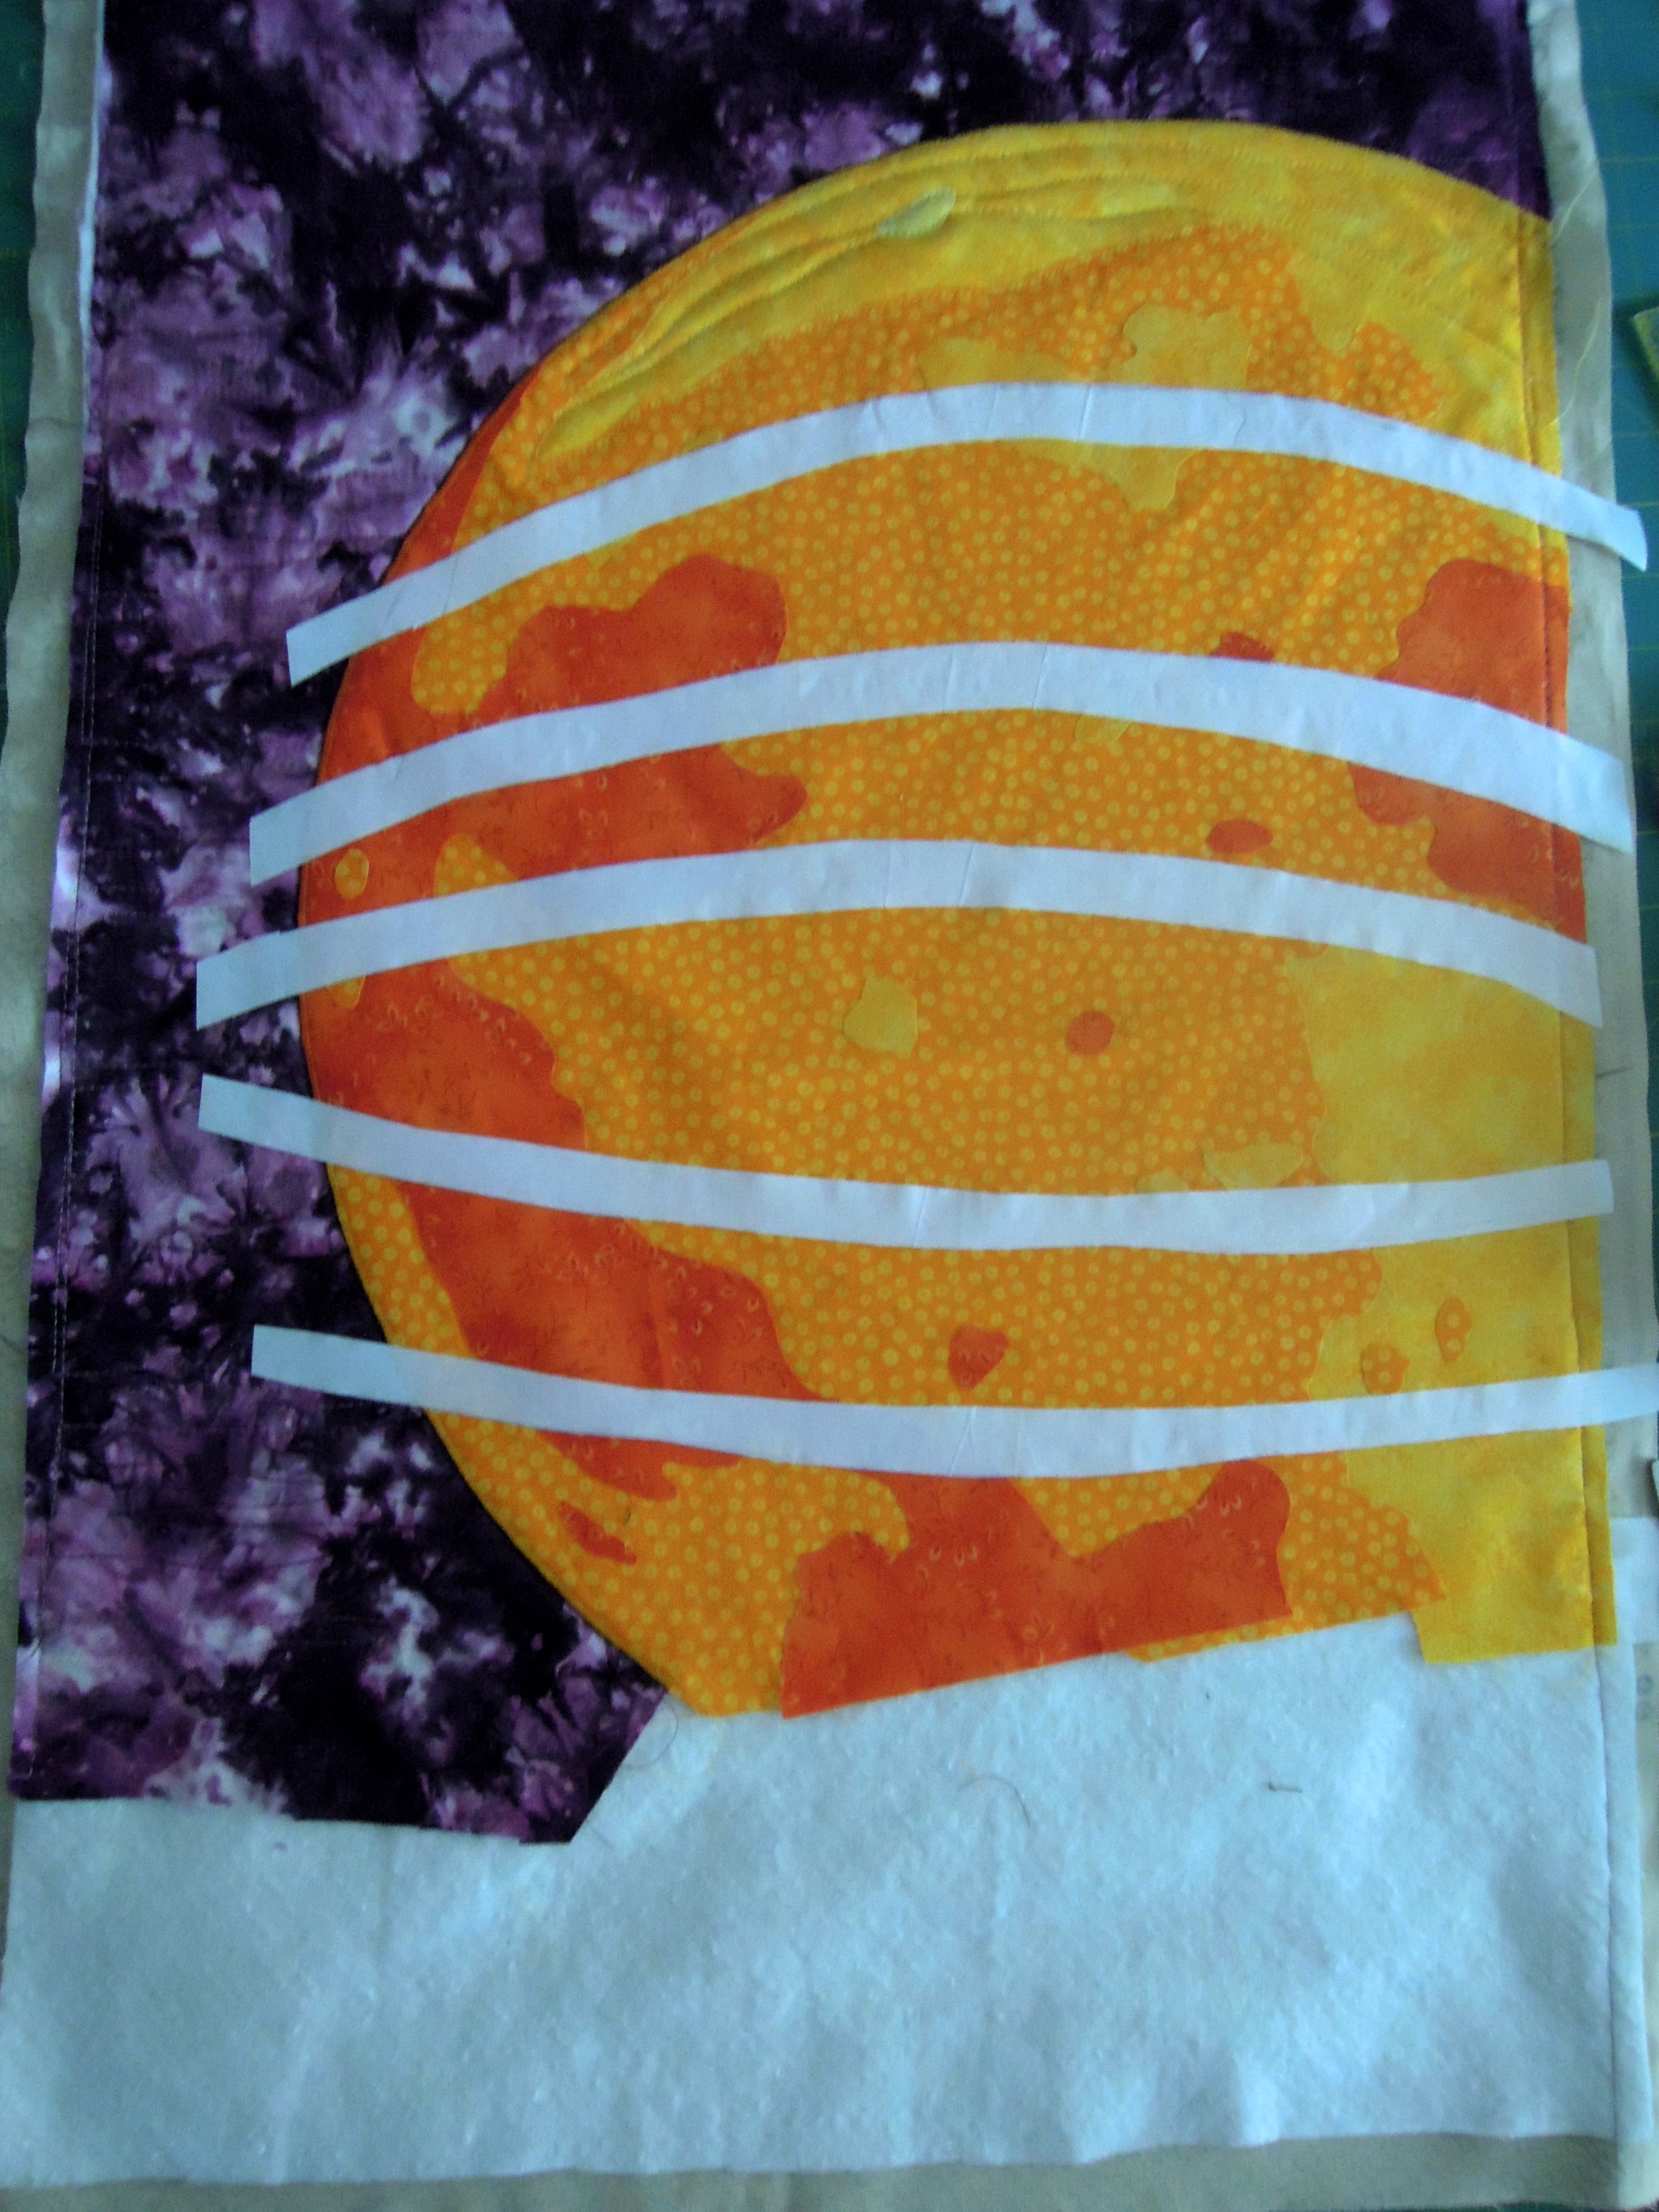
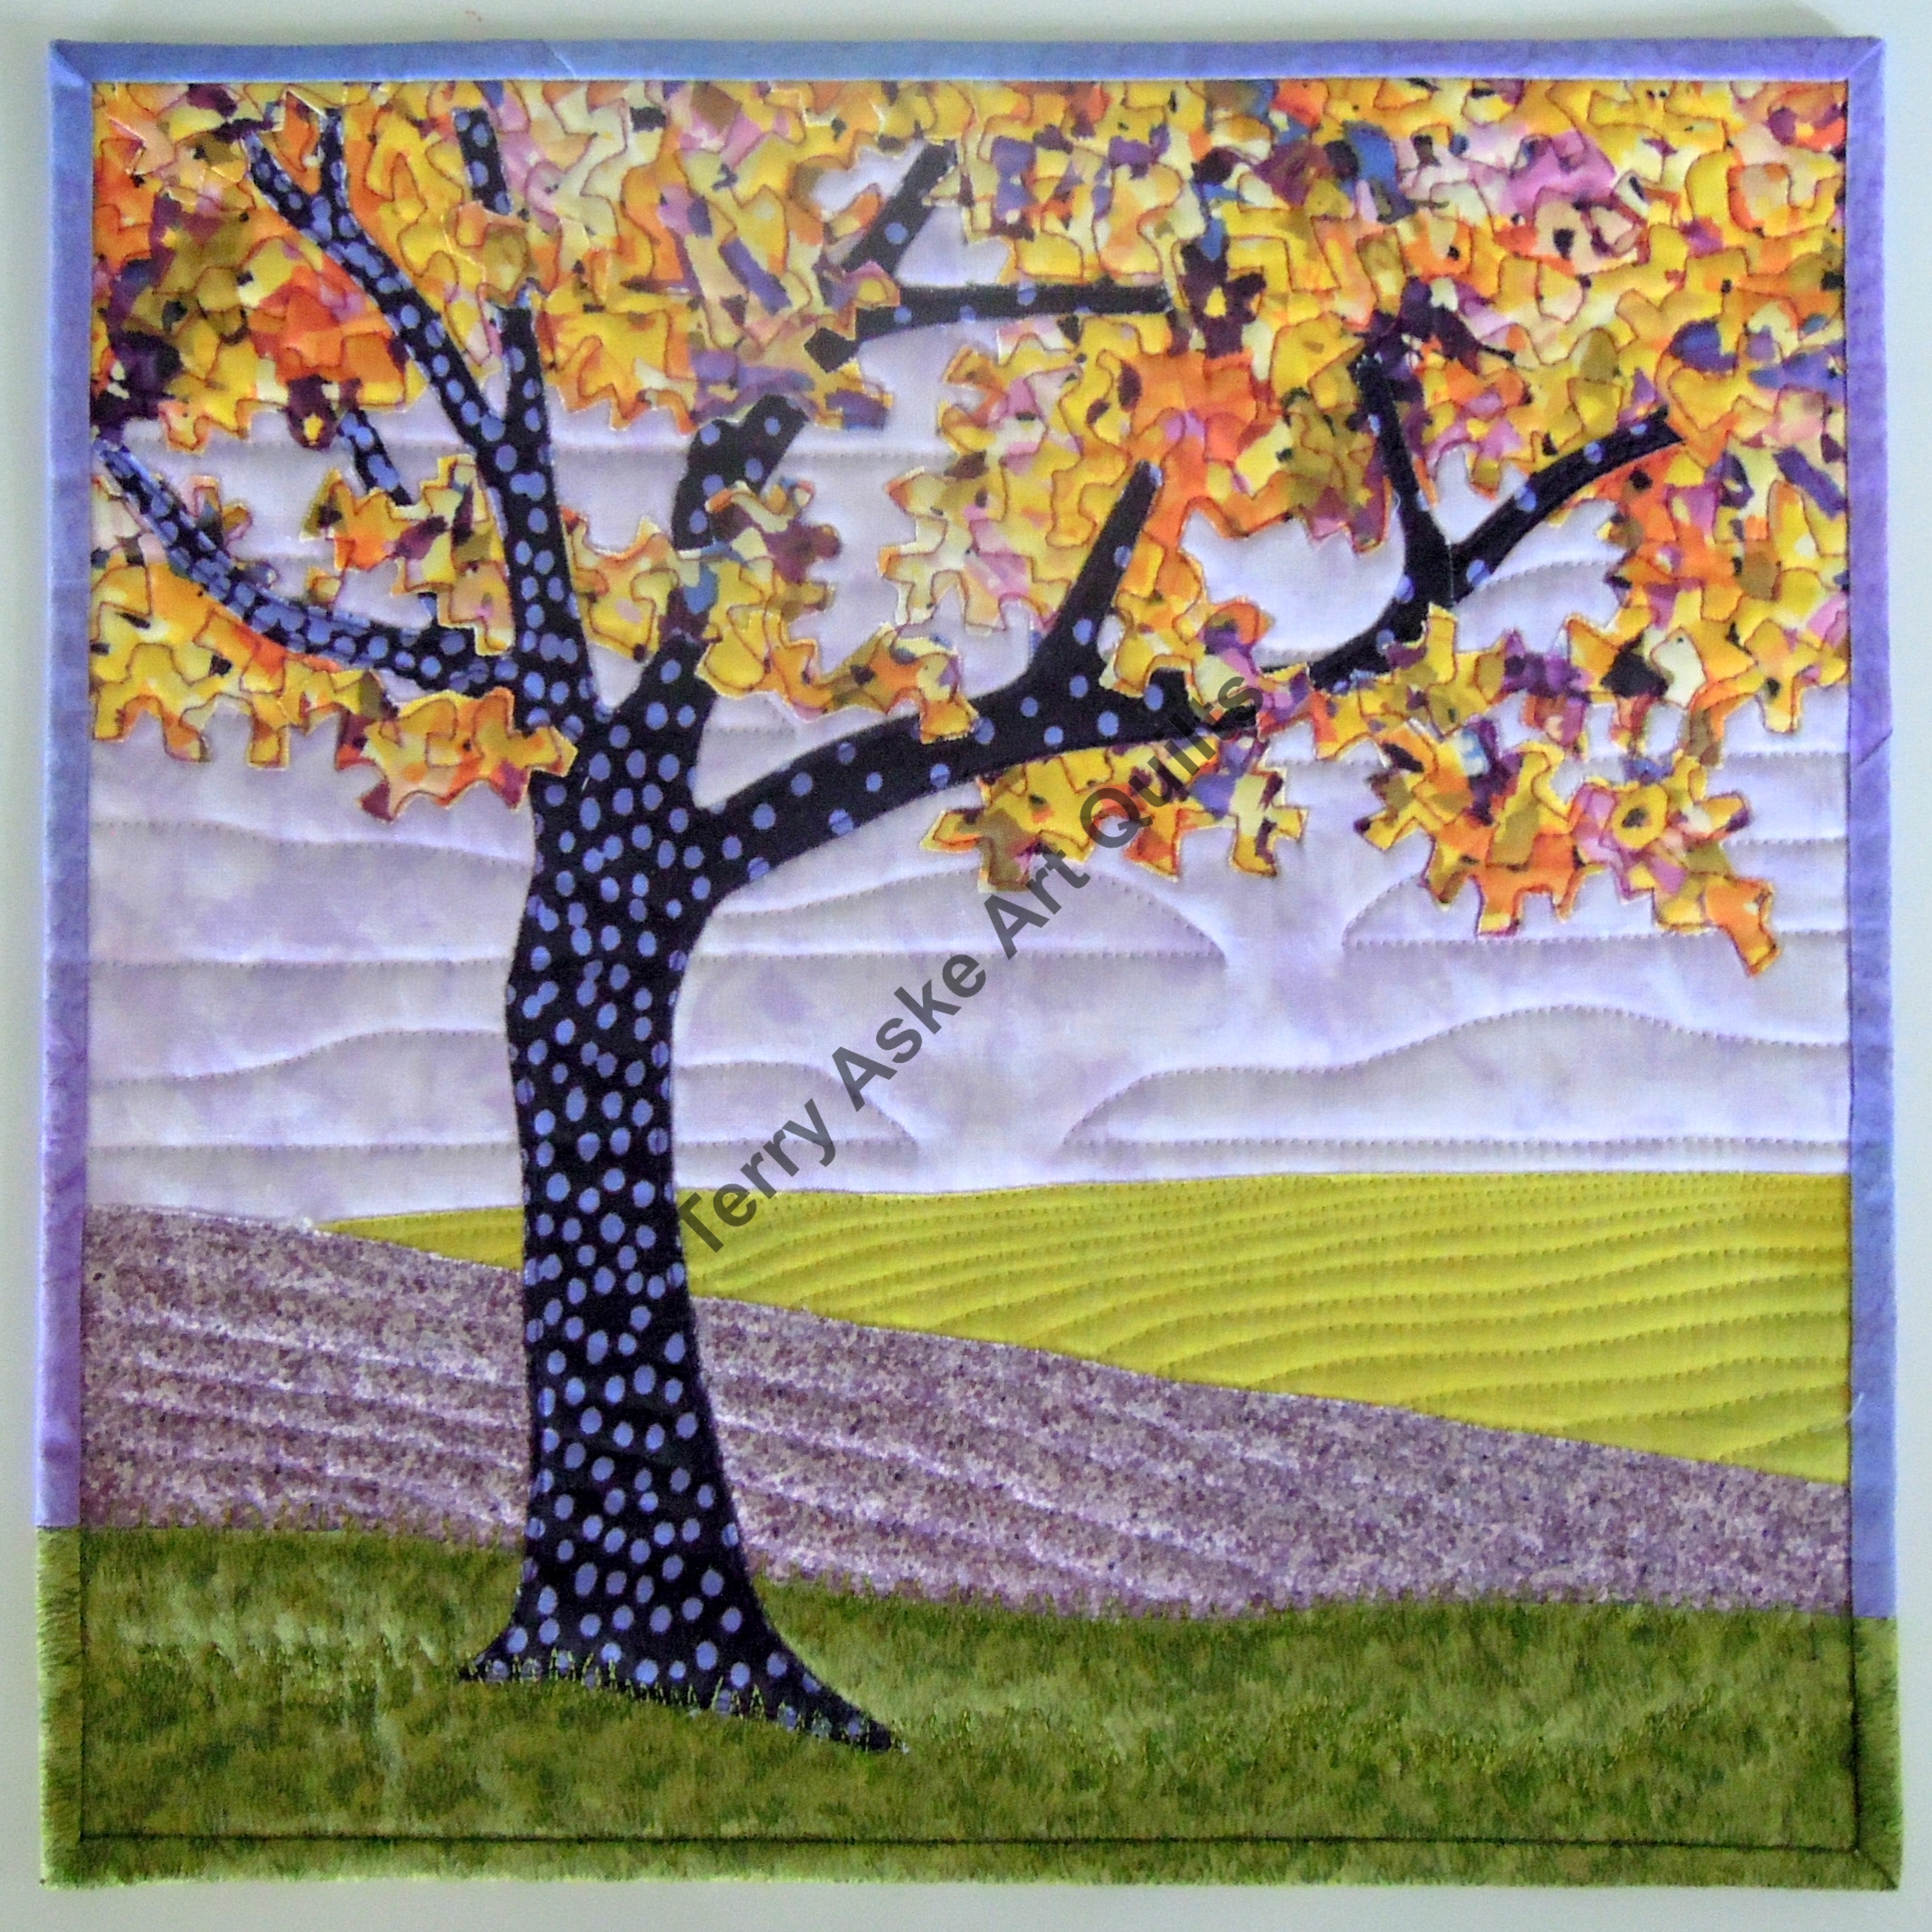
For this exhibition, all quilts had to be 40cm by 100cm (approximately 16 by 39 inches).  Given the vertical format, I decided to position the center of my circular star trails toward one side, and to put a treeline in the foreground, similar to what I did in ‘Bad Moon Rising‘.  I decided on colors ranging from very dark blue to light purple, as if the time-lapse photography session started at dusk.  Then I experimented with ways to make the star trails.  I zigzag stitched with hologram metallic thread and pale, pastel rayon threads.   These didn’t look bright enough against the dark sky fabrics, so I tried stitching over thin white cord and ribbon.  Then I remembered my white ink pen – I drew the star trails on the sky fabric with white ink, then covered the ink with zigzag stitching.  That gave my star trails the brightness I was looking for – and made it easier to stitch in a smooth curve.

threads and white ink for star trails


I drew my full-size design on a piece of freezer paper.  I cut the circular sky sections apart, and ironed them to the back of the sky fabrics.  I overlapped the seam allowances of the sky fabrics and from the back, straight stitched in the gap between the paper templates.  Then from the front, I trimmed each seam allowance very close to stitching.  (In the first image below, the sky pieces have been stitched together, but the paper is still pressed to the back causing those unsightly ridges.  And I’m making sure the treeline pattern piece will cover the places where I transitioned from a darker sky fabric to a lighter one – tricky, eh?)   When all the sky pieces were stitched together I removed the freezer paper and zigzag stitched over each seam.   In some places I used thread that matched the sky fabric, and in other places I used contrasting threads for the star trails.  Then I did additional zigzag stitching to create more star trails.  This was all done before I layered the quilt, so I wouldn’t have to bury all the thread ends.

Sky pieces sewn together   raw edges zigzag stitched   most star trails stitched before layering


Then I layered the quilt.  I used black eco-felt instead of batting.  I quilted circular lines in each sky section with matching threads, and added some fainter star trails with a triple-stitch.  The last step was to fuse the foreground trees and quilt them.  I finished the quilt with my favorite facing method.

quilting and fainter star trails 1  quilting and fainter star trails 2


Even though my quilt wasn’t accepted into the exhibition, I had a lot of fun learning about star trails, and figuring out how to interpret them with fabric and thread.  And I’m sure I will find a quilt show in the future where I can show my ‘Star Trails‘ art quilt.

TAskeFull


Thanks for stopping by.  Today, I’m linking up with these blogs – click on the links below, where you’ll find many other creative projects to inspire you.

WIP Wednesday at Freshly Pieced     Esther’s Blog   Sew Fresh Quilts


Posted in Art quilts, On my design wall, Quilt shows | Tagged , , , | 12 Comments

Bad Moon Rising – 2016.01.31

As I in mentioned in my Goal Setting post at the beginning of January, I recently submitted art quilts to two juried shows, both of which had restrictions about publishing work prior to the decisions of the jurors.  The selected artists have now been announced for both shows, so I can now show my work.  Here’s information about one of them.  I’ll do a separate post about the other one.

My art quilt ‘Bad Moon Rising‘ was one of the selected entries for Fly Me to the Moon.  This project was conceived and organized by Susanne Jones to celebrate the 50th Anniversary of Man’s Walk on the Moon.  The collection of 178 quilts will travel for the next four years to a variety of venues.  Each quilt is 18 by 30 inches.

When I heard about this exhibition, I thought of a sketch I had made last spring (when I was exploring all the ways I could incorporate circles into art quilts).  I used photo-editing software to create a simplified image of the moon with dark, medium and light areas.  I constructed the moon first, using fused raw-edge applique.  Then I stitched the moon to the sky fabric.  I quilted the moon and the sky before adding the treeline.   My first quilting lines on the moon were too horizontal, so it was looking like a flat disc instead of a sphere.  I removed that quilting and used freezer paper strips as a guide for more contoured quilting lines.


After the moon and sky were quilted, I fused on the treeline at the bottom, and then quilted that part.  Initially, I was going to use only the dark fabric for the trees, but I’m so glad I decided to add the lighter green outline – it sets off the orange moon so well!

TerryAske_BadMoonRising-detail2

.

My statement about Bad Moon RisingThe still, dark forest waits under the brooding purple sky. Slowly, silently, the swollen orange moon rises, casting a ghostly glow on the tips of the trees. The magic of the full moon transforms the night.

TerryAske_BadMoonRising-full

.

I’m really looking forward to seeing all the quilts in the collection, but so far I’ve only seen a few blog posts by other artists whose quilts have been accepted  Here are links to them:

UPDATE: Here is the link to the website with all of the art quilts in this exhibit.

Thanks for stopping by.  Today, I’m linking up with these blogs – click on the links below, where you’ll find many other creative and inspirational projects.

Creations by Nina-Marie
Confessions of a Fabric Addict
Posted in Art quilts, On my design wall, Quilt shows | Tagged , | 7 Comments

Recent Circles workshop – 2016.01.27

On Saturday, I spent a delightful day teaching my Circles Circles Circles workshop for the Boundary Bay Quilters’ Guild.  I teach participants how to design their own circle blocks, and how to sew curves and circles with flat seams.

I brought some of my circle quilts and some class samples, and pinned them up at the front of the room.

TerryAske_circle quilts + samples 1 TerryAske_circle quilts + samples 2


Here are some of the blocks made by participants in the workshop.  I’m so impressed with the creativity and enthusiasm of this group.

BoundaryBay Circles workshop 1

BoundaryBay Circles workshop 2

BoundaryBay Circles workshop 3


Thanks for stopping by.  Today, I’m linking up with these blogs – click on the links below, where you’ll find many other creative projects to inspire you.

   Esther’s Blog   Sew Fresh Quilts


P.S.  You may have noticed an unfamiliar small rectangular quilt in the first photo above.  That’s my entry to the a matter of time textile art exhibition.  (My entry was not one of the 32 pieces selected by the curator, but now I can show it.)  So I’ll be back in a couple of days to talk about my inspiration and the techniques I used to construct this piece.


Posted in workshops | Tagged , | 3 Comments

Work in progress – 2016.01.21

I haven’t posted since the beginning of January, but I have been busy with a variety of quilting-related projects.  Here’s one of them.

Earlier this month, I visited my sister Anne in Victoria BC, and we spent a couple of days working on our current collaborative project – ‘WATER: an Element’.

We actually started working on this in April 2015, but we were both busy with other projects, and didn’t get back to it until this month.

Here’s our starting point, a sketch I drew last year.  We’ve changed our minds about what fabrics we will use, but we’re still using our original design.  The center piece is either a river or a waterfall – we haven’t decided yet.  Anne had a long piece of hand-dyed chiffon that is perfect for that section.  On one side we are going to piece and applique fabrics that represent calm waters – ponds, lakes, etc.  On the other side will be fabrics representing active waters – oceans, waves, etc.  We made a full-size freezer-paper pattern and cut it into the 3 sections.  This will allow us to each work on sections alone, and know that they will fit together when finished.

DSCN4803  IMG_1591  IMG_1600


Anne is working on the center section.  She is going to manipulate the chiffon to make it dimensional and add tulle for foam, as well as other embellishments.   I have one of the side sections to start piecing and appliqueing.

(If you’d like to read about our first collaborative project – ‘FIRE: an Element’ you can find the most recent post about it here.)


Thanks for stopping by.  Today, I’m linking up with these blogs – click on the links below, where you’ll find many other creative projects to inspire you.

   Esther’s Blog   Sew Fresh Quilts

Posted in Art quilts, On my design wall, WiP Wednesday | Tagged , , | 4 Comments

Goal setting – 2016.01.03

I like to start each year by reviewing my goals for the previous year, as well as my accomplishments.  Then I think about what I want to accomplish in the coming year.

My goals for 2015 were to:

  1. explore new exhibit opportunities to enter and show my work.
  2. explore new workshop ideas.
  3. start a new series of tree quilts, each with different techniques.  My goal was to make one a month during 2015.
  4. explore a new working relationship, collaborating with my fiber artist sister Anne on one or more fiber art projects.

All of these goals are still relevant to me, so I’m going to carry them over to 2016.  Here’s what I did in 2015 to accomplish my goals, and what I plan to do in 2016.

New exhibit opportunities.  In 2015, I entered my work in several new-to-me juried shows, including:

  • Quilts=Art=Quilts – my entries were not accepted, but I plan to enter this one again
  • SPUN – my entry wasn’t accepted for this show either, but I will try again
  • Fly Me to the Moon – This an exciting project – a visual celebration of Man’s First Walk on the Moon.  The selected quilts will travel to various venues, and be included in a book.  I’ve made a quilt ‘Bad Moon Rising’ and submitted it.  (I haven’t posted any photos of it, as required by the curator.)  The jurors’ decisions should be announced in mid-January 2016
  • a matter of time – I’m working right now on an art quilt to submit to this travelling textile art exhibition.  It’s another one where I can’t share photos of my work in progress.
  • AQM – Artist as Quiltmaker – I submitted 2 of my quilts, plus the one that Anne and I made together.  I should know in mid-January if any of them are accepted
  • My Corner of the World – Canada – a SAQA exhibition.  I’m thrilled to say that my ‘Inside the Tipi’ was accepted for this exhibit.  The inspiration for this quilt is photo of a replica tipi in the Northern Life Museum and Cultural Centre In Fort Smith, Northwest Territories, Canada.  I used machine piecing for the straight support poles, and fused raw-edge and folded-edge appliqué for the curved lines of the canvas cover.  The original photo (used with permission) was taken by my sister while visiting her daughter, who lives in Fort Smith.

Aske_Terry_Inside the Tipi_full


New workshop ideas.  In 2015, I developed 2 new workshops – ‘Circles Circles Circles’ and ‘Architectural Art Quilts from Photos’ and created a page on my blog with the descriptions of all the workshops I offer.  In 2016, I already have 1 workshop and 2 trunk shows scheduled.  The photos below are some of the blocks created by students in 2 of my workshops.

VMQG Circles workshop  FVQG Circles workshop


Start a new series of tree quilts.  I made 2 quilts in my tree series, but will be making more in the near future.  I made a 3rd tree quilt, which I donated to the annual SAQA action.  I think I have enough of this fabric left to make a similar one for the series.

TerryAske_ExuberantTrees  TerryAske_FoggyWinterDay  TerryAske_HappyPurpleTree


My tree series got stalled when I developed a fascination with circles – and made several circle quilts.

TerryAske_CircularThinking TerryAske_unnamed circle quilt TerryAske_Eclipse


New working relationships.  My sister Anne and I created our collaborative quilt ‘Fire’, entered it in a show, then ‘set it on fire‘ to improve it.  We’ve started working on the next in our Elements series, ‘Water’ – and I’ll be visiting Anne soon to continue our collaboration.

My friend Judy Villett and I submitted a proposal to The Gallery at Queen’s Park for a joint exhibition titled ‘The Heart of the Forest’.  Our proposal was accepted and our work will be on exhibit in July 2016!   Thus, my need to start work again on the tree series.


I hope your goals for 2016  – whatever they may be – bring you fun and satisfaction.  And I wish you all a happy and creative year!


Thanks for stopping by.  Today, I’m linking up with these blogs – click on the links below, where you’ll find many other creative and inspirational projects.

Creations by Nina-Marie    Confessions of a Fabric Addict

Posted in Art quilts | 6 Comments

Year in review – 2015.12.31

It’s that time of year again!  An opportunity to review accomplishments and activities during the past year, and set goals for the new year.

During 2015, I created 18 quilts.   As you can see there were a few trees, and few portraits and quite a few circle quilts.

2015 Terry Aske


I submitted 30 quilts to 14 juried shows.  Many were rejected, some I haven’t heard about yet, and 10 were accepted.  Of those, 2 of my modern quilts won awards!

TerryAske_ExplodingWedges  TerryAske_ShadesofGray


I submitted 3 art quilts to Quilting Arts magazine for their Reader Challenges, and all 3 were accepted.

TerryAske_IntotheWind  TerryAske-FierySumac  Terry Aske_Minimalist Me_highres


I also had work published in a book by Sandra Sider – 1000 Quilt Inspirations (7 of my quilts were included, including one of my ‘Rainy Day People’ quilts the cover!).  ‘Rainy Day Girls was featured on the cover of the Spring issue of The Canadian Quilter magazine, and I wrote an article about how I make portrait quilts for the Winter issue.

DSCN4781 DSCN4693  CdnQuilterWinter_cover


I did 3 trunk show presentations for local guilds, and taught 4 workshops.  I also created a page on my blog with the descriptions of all the workshops I offer.

I also did some quilt-related travel this year.  In February, I flew to Austin TX for QuiltCon.  In June, I attended Quilt Canada in Lethbridge AB.  In October, I spent a wonderful 5 days at the Fibre Art Network annual retreat in Abbotsford BC.


All in all, it was a busy and fulfilling year.  I hope you’ve enjoyed seeing what I’ve been up to in the past 12 months.  I’ll be back in a couple of days with information about my plans for 2016.

Posted in Art quilts, Modern quilts, Portrait quilts, Publications, Quilt shows | Tagged , , , , | 3 Comments

New portrait quilt – 2015.12.24

Two years ago, I made a portrait quilt on commission, based on a photo of my client’s beautiful blue-eyed daughter.  Earlier this year, she contacted me again about making a portrait quilt of her mother.  She provided me with a photo of her mother as a young woman.

As usual, I started by ‘posterizing’ the original photo to get the value differences.  (Here’s a tutorial about the process I use.)   The face in this quilt is only 6 inches high, so I had to minimize the amount of detail, but I believe I captured the essence of her appearance.  You can see the progression below from original photo, to posterized version, to the final portrait.

Mom_original_photoMom_posterizedA Mom is Love-001

The original plan was for the portrait to be in sepia tones or gray-scale, but I just couldn’t get a realistic look using such a limited palette.   After a couple of failed attempts with gray fabrics, we agreed to go with realistic colors, and I’m glad we did.

This is the first portrait I’ve done with hands, so it took a bit of experimentation to get the look I wanted.

Mom_BW_handsMomPSE_photocopy-handshands-001


I finished it with a turned-back facing.  As usual, I referred to my facing technique tutorial.  I realized while following my own instructions that I could simplify the process.  I didn’t take photos this time, so I’ll have to do that next time, and then update the tutorial.

The quilt has been added to my gallery of portrait quilts.  It’s interesting to see the variety of techniques I’ve used for portrait quilts over the years.

A Mom is Love


Thanks for stopping by.  Today, I’m linking up with these blogs – click on the links below, where you’ll find many other creative projects to inspire you.

     Sew Fresh Quilts


Posted in Portrait quilts | Tagged , | 2 Comments

Improv curved piecing – 2015.12.22

I’m playing with improv Orange Peel blocks for the VMQG Round Robin challenge.  This is our last round, and the theme is Curved piecing.   I’ve always admired Orange Peel quilts, the wonkier the better.  Obviously, I haven’t settled on a size yet – I’m experimenting with various sizes.  Maybe I’ll use them all – that’s the freedom of improv piecing!

Improv orange peel


I found lots of inspiration on the Internet, especially these three quilts.

Jessica at Quilty Habit made this quilt in 2014

‘Scatter’ by Jessica at QuiltyHabit.com


And, this work in progress by Marty Mason of Marty’s Fiber Musings

modern improvisational orange peel quilt - Marty Mason

modern improvisational orange peel quilt – Marty Mason


And this improv double wedding ring quilt by Natalie at GreenLeaf Goods

improv double wedding ring

improv double wedding ring by Natalie at GreenLeaf Goods


Thanks for stopping by.  Today, I’m linking up with these blogs – click on the links below, where you’ll find many other creative projects to inspire you.

   Esther’s Blog   Sew Fresh Quilts


Posted in Inspiration, Modern quilts, WiP Wednesday | Tagged , , | 6 Comments

And then we set it on fire! – 2015.12.05

This is a long post with photos at the end, so feel free skip to the bottom.  But I think when you see the photos, you may want to come back and read the explanation.

At the beginning of this year, my sister Anne and I started working on a collaborative project.  Our starting point was to focus on a limited color palette – various shades of red with accents of chartreuse, and experiment with a variety of surface design techniques –  dyeing, painting, stamping, printing, discharging, foiling, piecing.

We worked on it – both together and separately – for a couple of months.  During that time, in our minds, the theme of our quilt evolved from a study in red to a study of Fire.  We also decided we would do a series, and the theme would be The Elements, beginning with Fire.

‘Fire: an Element’ was completed in June. We entered it in the La Conner Quilt & Fiber Arts Festival in the ‘Fiber Art – Created Textiles’ category, and were thrilled when it was juried in.

Fast forward to the comments we received from the judges at the La Conner Festival:

Best features: Block design, with straight and curving lines, is engaging . . . Adding textured effects and stitching draws us in to investigate closer

Recommended improvements:  Feel of fire could be strengthened by avoiding colors like pink and delicate green

Now, I have to say that sometimes I agree with judges’ comments, and sometimes I don’t, and I generally take them with a grain of salt.  But in this case, the comments hit home. Looking at our piece with a critical eye and from a fresh point of view, we both immediately realized that there was indeed much too pink to evoke the feeling of fire – we had been too close to our project to see it objectively!  In fact, Anne commented that we could have titled it ‘Spring’ rather than ‘Fire’!

So, we decided to set it on fire!  First, we added some fiery colors to the lightest and pinkest parts with Shiva PaintStiks.  Then Anne had the brilliant idea to add some burned and melted fabric. Why did we not think of that before??!!    We also scattered metal and glass beads on top of the burned fabric, and various other places.

Aske-deVerteuil_Fire-anElement-revised_detail   Aske-deVerteuil_Fire-anElement-revised_detail2

We think our new and improved Fire quilt is now worthy of its name and even better than it was before.  We’re going to enter it in another show soon.

Here are the before and after photos – what do you think of it?  Have you ever taken a finished quilt and amended or enhanced it?

Fire - before and after


Thanks for stopping by.  Today, I’m linking up with these blogs – click on the links below, where you’ll find many other creative and inspirational projects.

Creations by Nina-Marie      Confessions of a Fabric Addict


Posted in Art quilts | Tagged , | 3 Comments

Self-portraits – 2015.12.02

Members of the Canadian Quilters’ Association should have received their Winter issue of The Canadian Quilter magazine.  I knew that my article about how I create portrait quilts – and why I like to experiment with self-portraits – would be included in the magazine, but I was thrilled to see my self-portrait on the cover!

CdnQuilterWinter_cover  CdnQuilterWinter_article

You can learn more about my process here, and see many of my portrait quilts here.

While I was writing the article,  I came across an extremely minimalist image I had created in 2011 when I was first experimenting with the posterize effect.  It’s from the same photo I used for my self-portraits in the magazine article.  Then I saw the Quilting Arts magazine announcement of a reader challenge to make a 10 x 10 inch portrait art quilt, and decided it was time to turn that image into a self-portrait.

Here’s how I made it.  I traced the eyes and nostril onto stabilizer and added the suggestion of a nose.   I cut the eyes and nostril from purple fabric, and fused them to a yellow background, using the stabilizer drawing to position them.

Photo-posterized2levels   positioning fused pieces


I pinned the stabilizer to the back of the fabric, and stitched the eyes and nose from the back.  Then I added batting and backing and stitched again through all the layers.  I titled it ‘Minimalist Me’.  It was accepted as a finalist, so I hope to see it in the February/March 2016 issue of Quilting Arts magazine.

stitching from back  Terry Aske_Minimalist Me_detail

Terry Aske_Minimalist Me_highres


Thanks for stopping by.  Today, I’m linking up with these blogs – click on the links below, where you’ll find many other creative projects to inspire you.

WIP Wednesday at Freshly Pieced     Esther’s Blog   Sew Fresh Quilts


Posted in Art quilts, Portrait quilts, Publications | Tagged , , | 6 Comments