January in Inuvik NWT – 2017.01.20

In my last post, I said that I would be travelling to Inuvik in the Northwest Territories to teach a 2-day workshop on my Circles techniques to the Inuvik Quilting Guild.

My husband, Robin, decided to accompany me, as he didn’t want to miss out on this adventure!  We left Vancouver on Thursday, January 12th.  We flew with Air North (wonderful airline!), stopping in Whitehorse, Dawson City and Old Crow before arriving in Inuvik, which is just north of the arctic circle.  As we traveled north, the hours of sunlight decreased.  We arrived in Inuvik at 1:30 PM on Friday, just as the sun was rising!

The lights of Whitehorse at 8:30 am as the airplane took off for Inuvik.

The lights of Whitehorse at 8:30 AM as the airplane took off for Inuvik.

Walking back out to plane after a short stop in Old Crow

Walking back out to the plane after a short stop in Old Crow on our way to Inuvik

Arrived at Inuvik airport at 1:30pm - just in time to see the sunrise!

We arrived at Inuvik airport at 1:30 PM on Friday – just in time to see the sunrise!


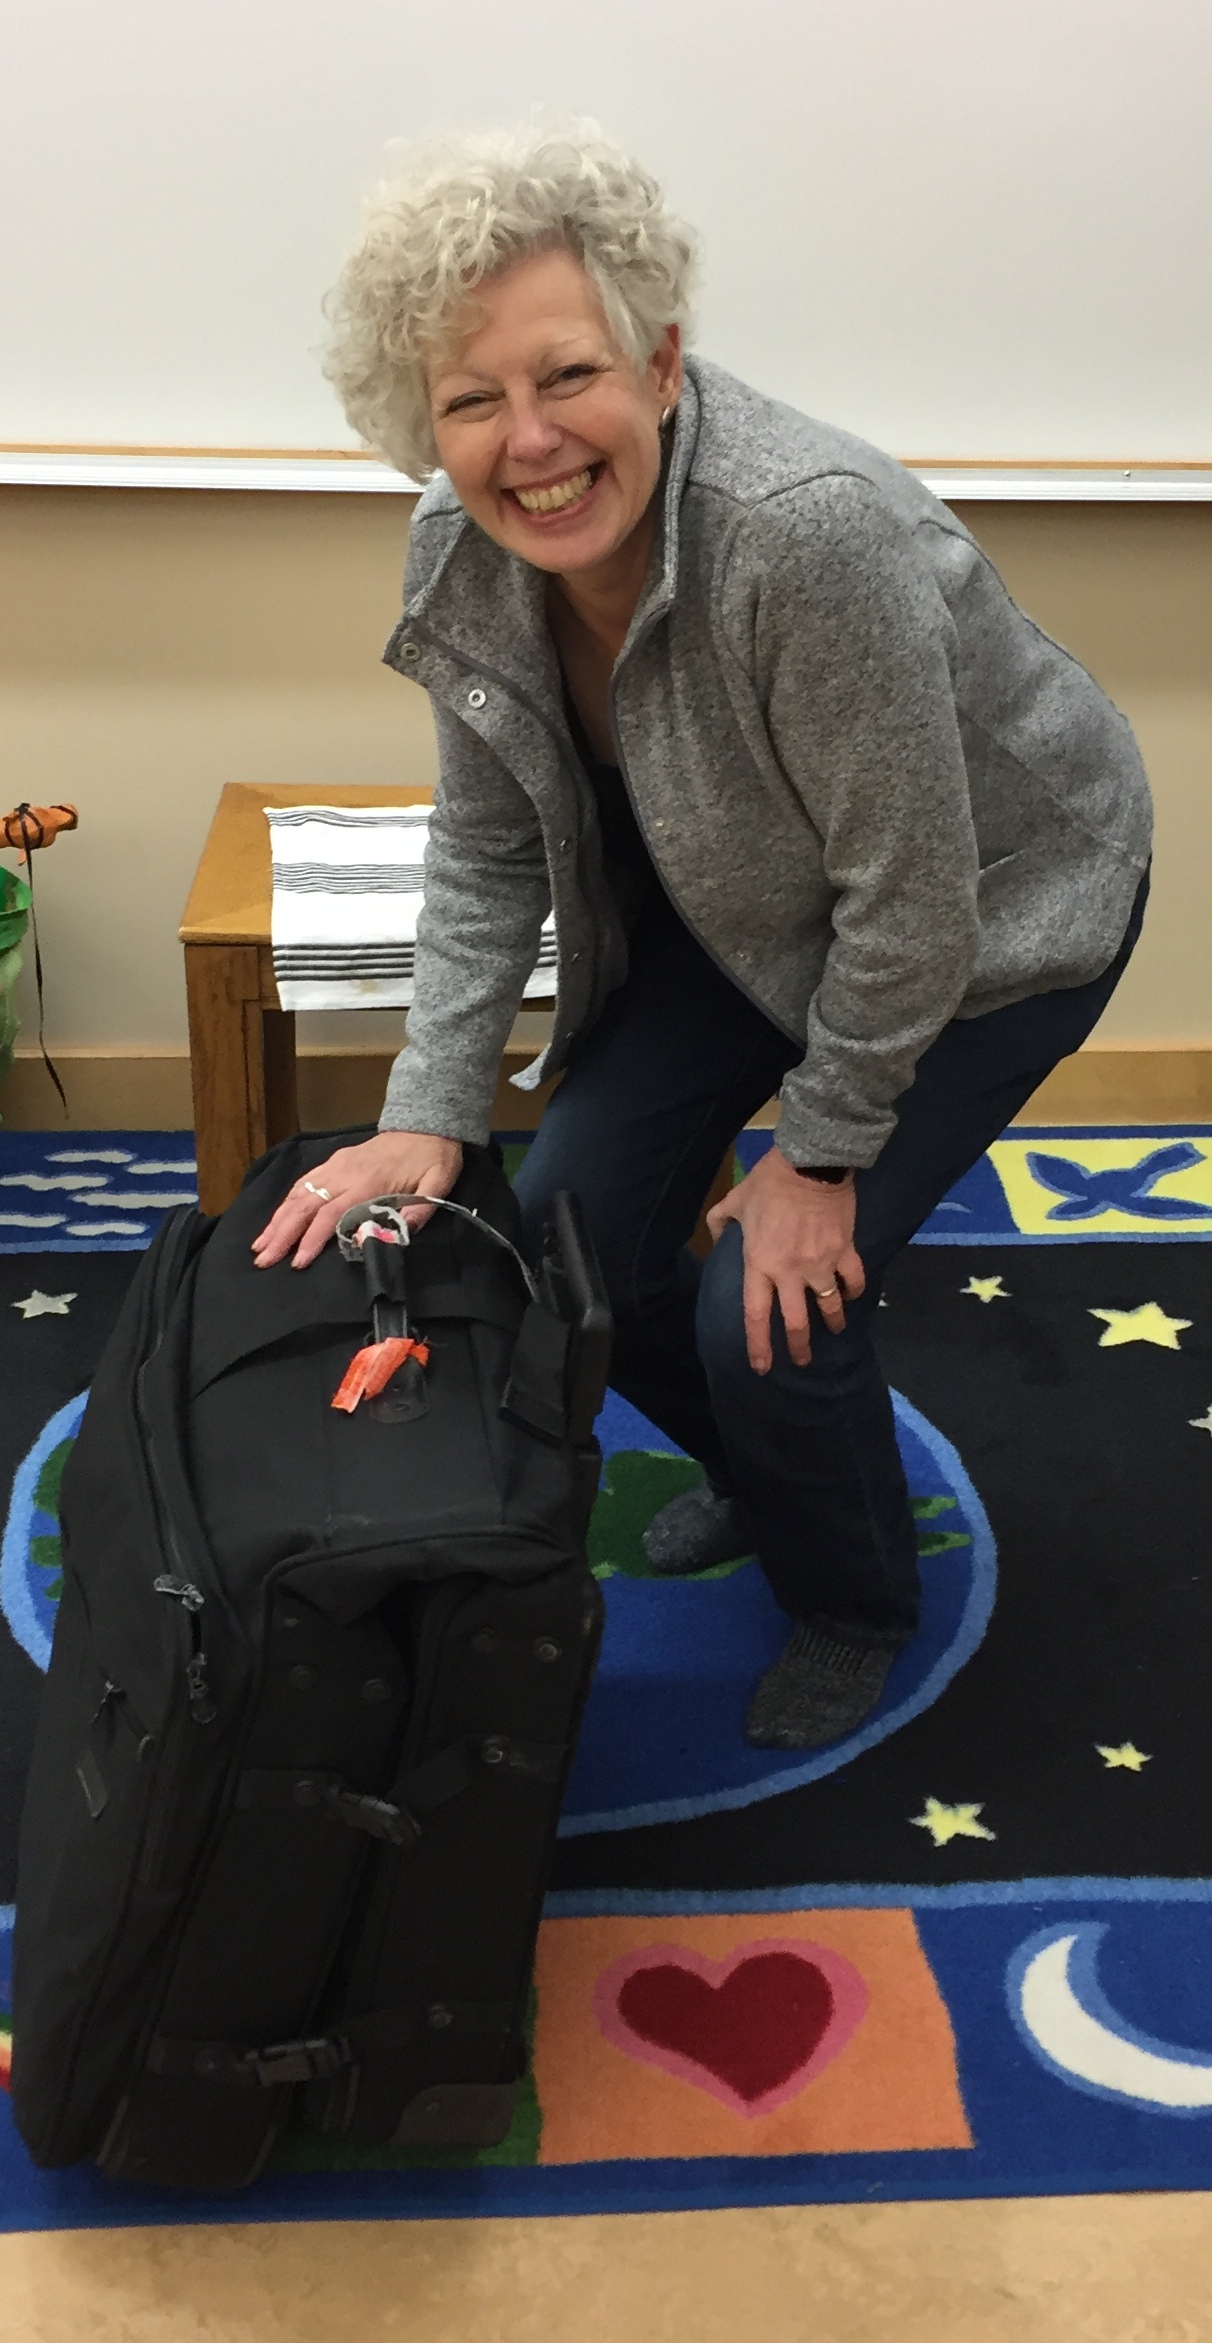
On Friday evening, I did a trunk show for the guild.   I had packed about 40 quilts (some quite small) into a garment bag, so I would have an interesting selection for the trunk show.  I was thankful that Robin was with me to wrangle the bag through the airports.

  a bag full of quilts for a trunk show in Inuvik  unpacking for a trunk show in Inuvik


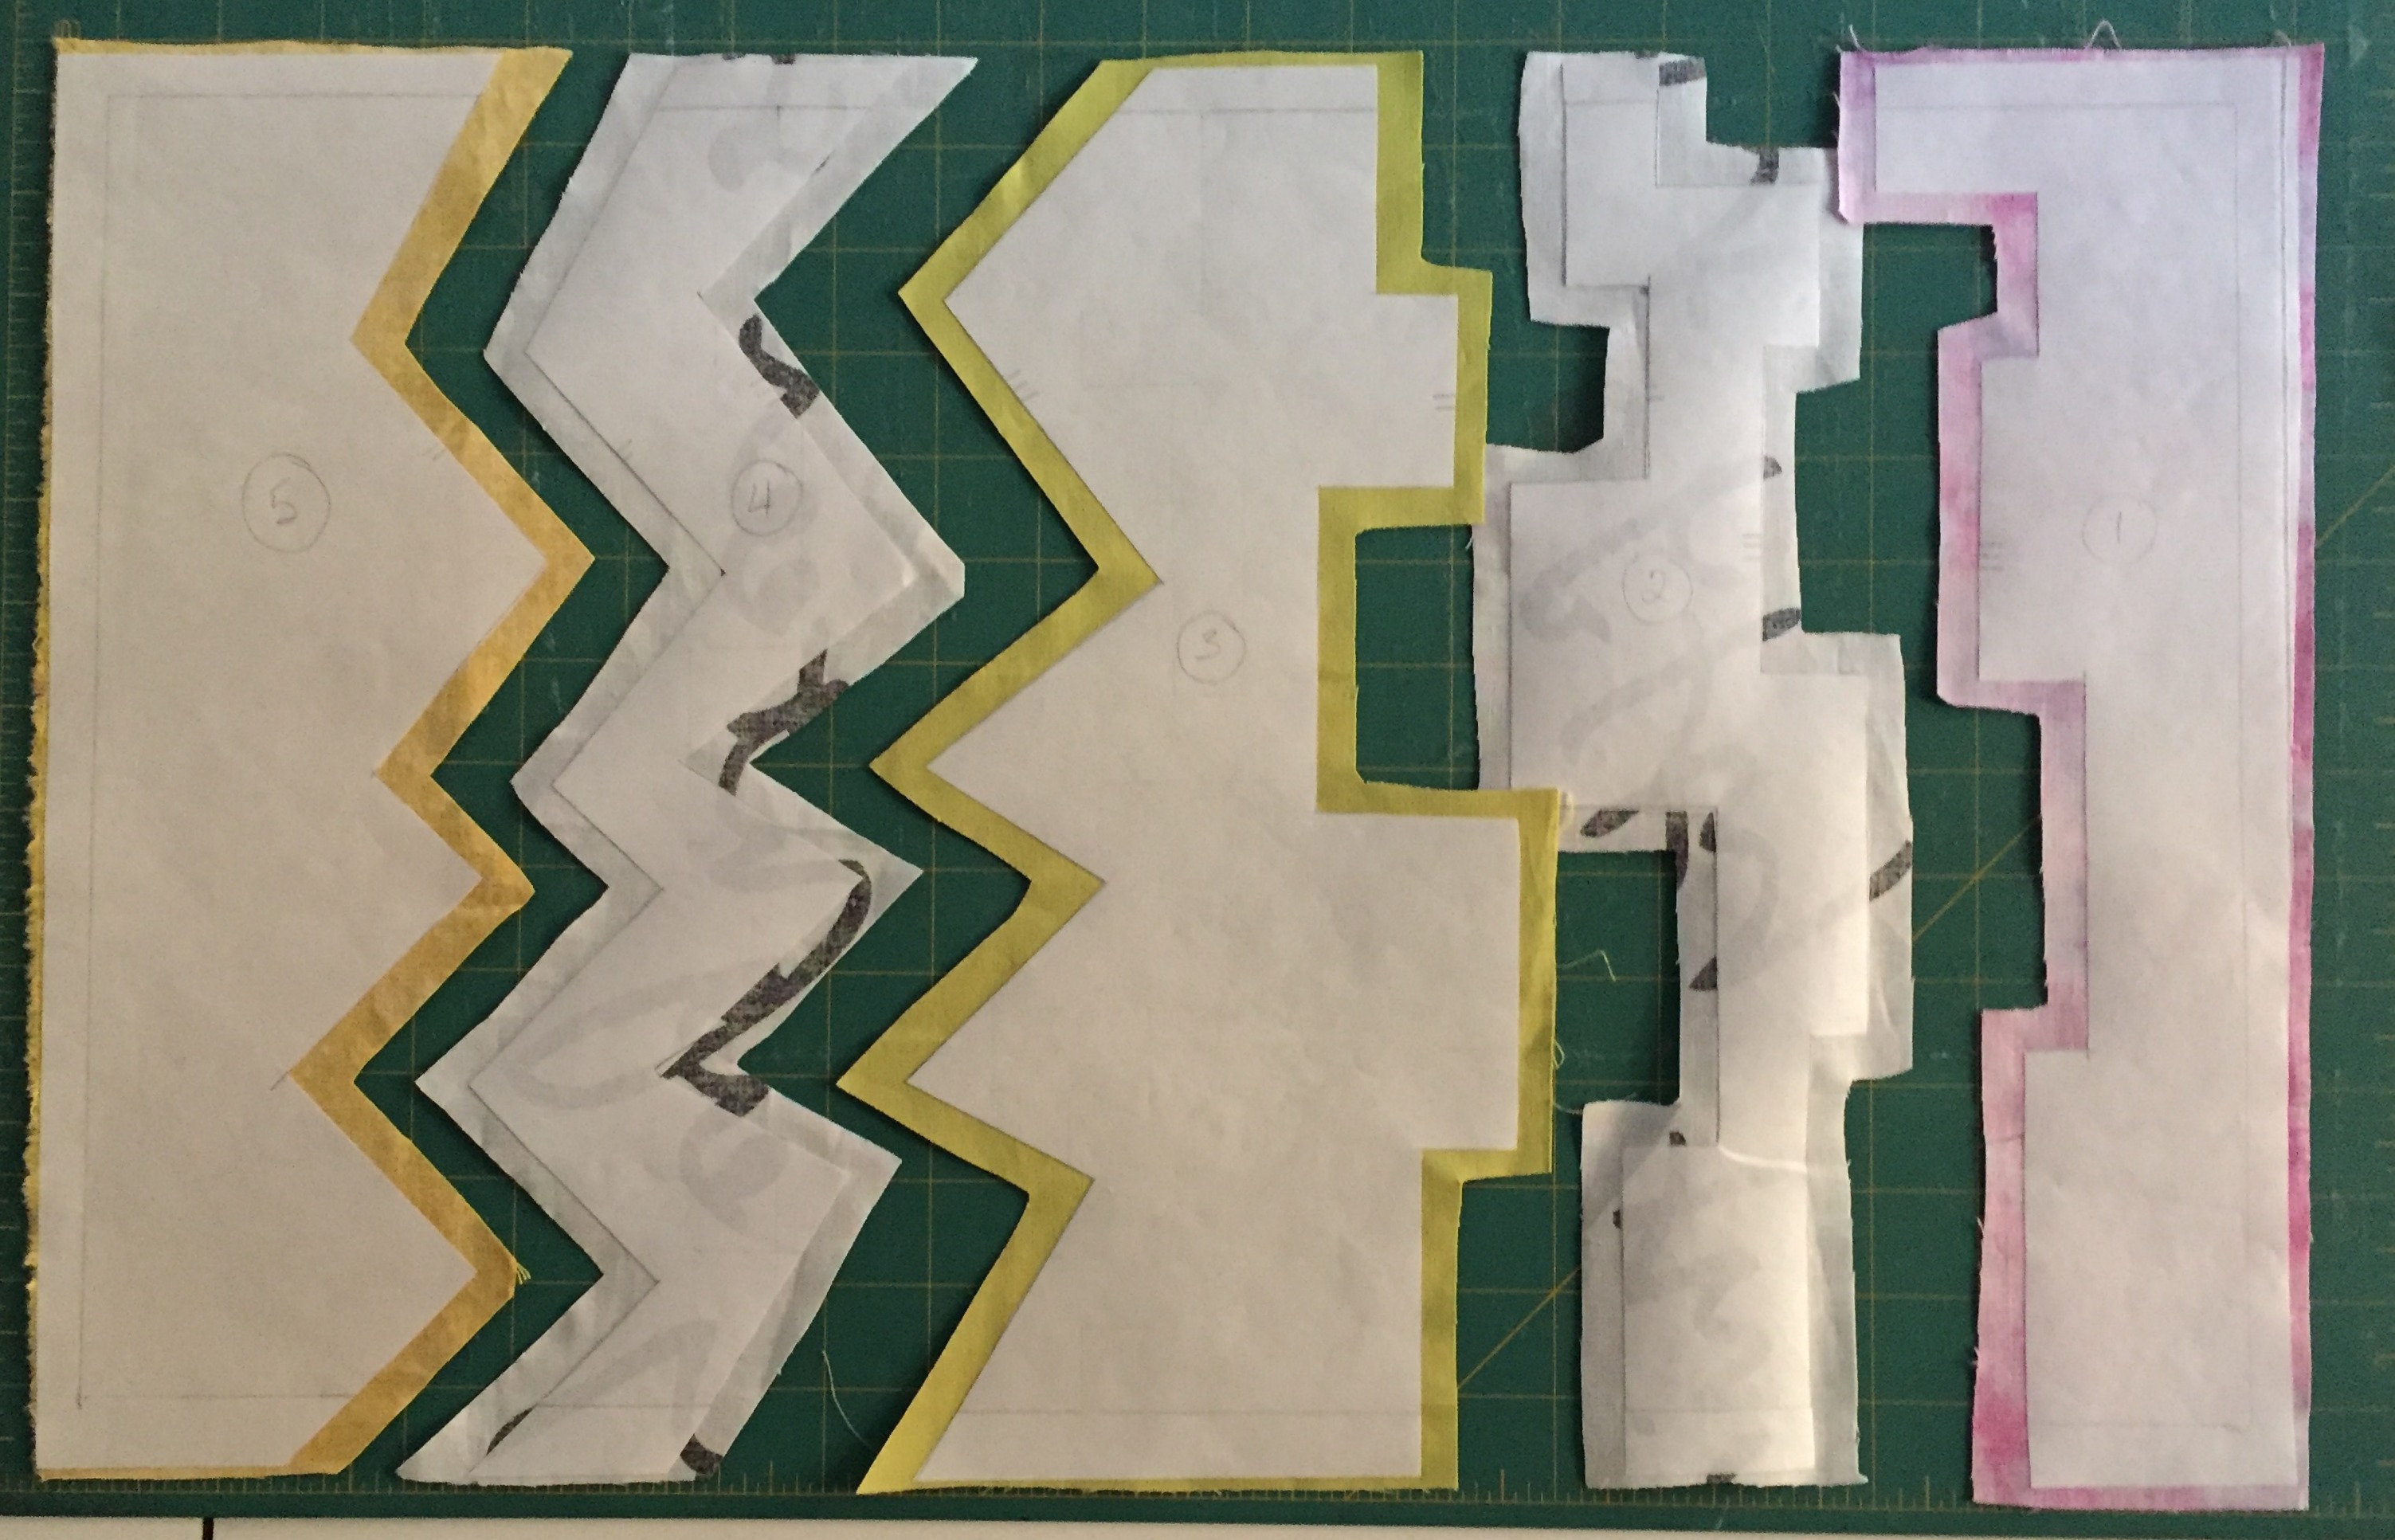
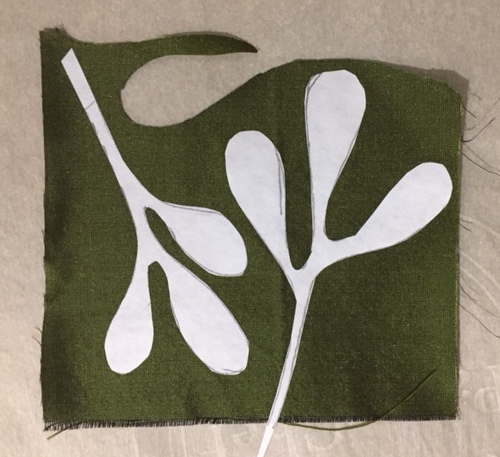
On Saturday and Sunday, I taught my Circles Circles Circles workshop.  I teach participants how to design and create their own freezer paper patterns, and demonstrate a variety of techniques I use to create my circle quilts, including how to sew curves and circles with flat seams.   Below you can see some of the blocks designed and created by the enthusiastic participants in the workshop.

Inuvik quilters at Circles workshop2017-01-Inuvik

While we were quilting, Robin was invited on several adventurous activities by friends and family of the quilters – he had the opportunity to release a weather balloon, and to drive the ice road to Tuktoyaktuk.

Robin about to release a weather balloon in Inuvik

Robin about to release a weather balloon in Inuvik

On the ice road to Tuk. Robin's foot on the ice road from Inuvik to the Beaufort Sea.

On the ice road to Tuk. Robin’s foot on the ice road from Inuvik to the Beaufort Sea.


During our stay, we were wined and dined – Inuvik style – including a delicious dinner at Alestine’s Restaurant, where the kitchen is in the bus, and dinner is served in a small cabin.   The food was fantastic!

Yes, those are icicles on the bus, and yes, that’s Robin dressed in a t-shirt!

The kitchen at Alestine's in Inuvik - is in the bus!

The kitchen at Alestine’s in Inuvik – is in the bus!

The dining room at Alestine's in Inuvik - a small cabin

The dining room at Alestine’s in Inuvik – in a small cabin, next to the kitchen-bus.


On Monday morning, we wandered around the town before our plane left.  We saw some of the amazing triptych landscape quilts made by members of the guild last year, that are on display in various public buildings.  Here are a few more photos taken Monday morning.

Taken at 10 AM in Inuvik on January 16. The temperature was -31 Celsius. I love that the lights are still on this tree!

Still dark at 10 AM in Inuvik on January 16. The temperature was -31 Celsius. I love that the lights are still on this tree!

"Downtown" Inuvik at 11:30 AM. Still -31 Celsius.

“Downtown” Inuvik at 11:30 AM. Still -31 Celsius.

There's the sun! Our plane arriving at Inuvik airport at noon.

There’s the sunrise!  At noon, as our plane arrives at Inuvik airport.


We thoroughly enjoyed our stay in Inuvik.  Our only regret is we didn’t get to see northern lights – maybe next time!


Thanks for stopping by.  Today, I’m linking up with these blogs – click on the links below, where you’ll find many other creative and inspirational projects.

Creations by Nina-Marie    Confessions of a Fabric Addict

Posted in workshops | Tagged , , | 5 Comments

Annual goal-setting & plans for January – 2017.01.06

At the beginning of each year, I like to review my goals for the previous year, as well as my accomplishments.  Then I think about what I want to accomplish in the coming year.

My goals for the last two years have been to:

  1. explore new exhibit opportunities to enter and show my work.
  2. explore new workshop ideas.
  3. create a series of tree quilts, each with different techniques.
  4. continue to collaborate with my fiber artist sister Anne on one or more fiber art projects.

These are all still relevant for 2017.  In addition, I plan to de-clutter and re-organize my studio.  I also want to start a bullet journal to replace all the lists I keep making on random pieces of paper!  I’ll post about my progress with these projects.


January is going to be a busy and exciting month!

Next week, I’m travelling to Inuvik in the Northwest Territories to teach a 2-day workshop on my Circles techniques.  My husband is coming with me, and we’re looking forward to seeing the ice road, the northern lights and the sun peeking over the horizon.  It’s going to be a great adventure!

Inuvik sun rise


When I return from Inuvik, I’m looking forward to starting Susie Monday’s online course Art on the iPad.


Two of my quilts – ‘Circular Thinking’ and ‘Eclipse’ – were accepted to the Road to California quilt show, which starts on January 19th.  I won’t be there, but hopefully someone will send me photos of my quilts on display.

TerryAske_CircularThinking  TerryAske_Eclipse


And on January 27th, the Fibre Art Network exhibit ‘Botanical Reflections’ will open at VanDusen Botanical Garden in Vancouver BC.   I will be attending the artists reception on Saturday, January 28th.  You can see all the fibre art pieces here.


Thanks for stopping by.  Today, I’m linking up with these blogs – click on the links below, where you’ll find many other creative and inspirational projects.

Creations by Nina-Marie    Confessions of a Fabric Addict

Posted in Art quilts, Quilt shows, workshops | Tagged , , , , , | 2 Comments

Year in review – 2017.01.01

Happy New Year!

I’ve been looking back at 2016, reviewing my quilting-related activities and accomplishments.

Making art – I created more than 16 art quilts and other fiber art with a variety of themes and techniques.  Many of them are shown below.

2016-terry-aske


Exhibiting my art – I submitted my work to 10 juried shows and challenges.  I had work accepted into 5 shows, and won 2 awards at Quilt Canada.  I also submitted 3 pieces to Fibre Art Network group exhibitions – Ekphrastic and Botanical Reflections.

I was thrilled to have my work exhibited in 3 local venues during 2016.  In July, Judy Villett and I had a two-person art gallery exhibition called ‘The Heart of the Forest’.  That show led to an opportunity for my work to be exhibited in August during the New West Cultural Crawl.  At the end of August, I participated in the first-ever VMQG Modern Quilt Showcase.

Trunk shows and workshops – I continued to show my work at local guilds, and teach workshops.  I love showing my techniques to other quilters, and seeing what they create.  You can see some examples here and here.


All in all, 2016 was a busy and fulfilling year for me.  I hope you’ve enjoyed seeing what I’ve been up to in the past 12 months.  I’ll be back in a couple of days with information about my plans for 2017.


Thanks for stopping by.  Today, I’m linking up with these blogs – click on the links below, where you’ll find many other creative and inspirational projects.

Creations by Nina-Marie    Confessions of a Fabric Addict    Sew Fresh Quilts

Posted in Art quilts, Modern quilts, Year in review | Tagged , , , | 1 Comment

Mistletoe postcard exchange – part 2 – 2016.12.28

I hope you all had a great Christmas and are continuing to enjoy the holiday season!

At the beginning of December, I blogged about my 3 postcards for a Mistletoe fiber postcard exchange organized by Brandy Lynn of Quilter on Fire.   On December 3rd, Brandy let us all know who we were exchanging postcards with, and I mailed mine off to Canada and the US.  Below you can see the postcards I received from my ‘pen pals’ – all very different, and all beautiful!

You can see many of the Mistletoe exchange postcards on Pinterest here.

postcards-received-1

I’m working on my 2016 year-in-review, and I plan to post that before the end of the year.

Thanks for stopping by.  Today, I’m linking up with these blogs – click on the links below, where you’ll find many other creative projects to inspire you.

   Esther’s Blog   Sew Fresh Quilts

Posted in Art quilts | Tagged | Comments Off on Mistletoe postcard exchange – part 2 – 2016.12.28

Circles and other shapes – 2016.12.18

In January, I’ll be teaching a 2-day workshop on my Circles technique.  I teach participants how to design and create their own freezer paper patterns, and demonstrate a variety of techniques I use to create my circle quilts.

In a 1-day workshop, most participants complete at least 2 (and sometimes 4 or 5!) circle blocks of their own design.  At the January workshop we will have the benefit of an additional day, which will allow participants to work on bigger and/or more complex circle quilts.   I also want to show how the techniques can be used for other shapes – not just circles.

I have a few class samples of circles, but now I am working on some samples showing how one of the techniques can be used for other shapes.

I made a quick design in MS Paint, then drew it out on a 12 x 12 inch piece of freezer paper.  I cut apart the freezer paper and pressed it to the back of the fabrics.

terryaske_sketch-png terryaske_fp-pressed-to-fabric

This is a high-level explanation of one of the techniques I teach in the workshop.  I reassembled the pattern by overlapping the seam allowances.  Working from the back, I stitched in the gap between the paper templates.  Then from the front, I trimmed each seam allowance very close to stitching.  This leaves raw edges, which I  covered with thin black bias tape.  It’s fusible tape, so I pressed it into place.  The tricky part was getting nice sharp corners without burning my fingers!

  terryaske_stitched-and-trimmed  terryaske_applying-bias-tape


I love how my tools are the same colors as the fabrics.  I think this is a good illustration of some of my favorite colors!

terryaske_class-sample


Here are all of the class samples.  If they look wrinkled, it’s because most of them still have the freezer paper ironed to the back, so I can use them at the workshop to illustrate the various steps I use to construct them.

terryaske-class-samples


Thanks for stopping by.  I’m linking up with these blogs – click on the links below, where you’ll find many other creative and inspirational projects.

Creations by Nina-Marie    Confessions of a Fabric Addict

Posted in Tutorial, workshops | Tagged , , | 2 Comments

Botanical Reflections – part 3 – 2016.12.11

I’ve finished ‘Maple Reflections’, my second artwork for the Fibre Art Network exhibit ‘Botanical Reflections’.  You can read about my first piece ‘Ginkgo Reflections’ here and here.

As with the Ginkgo leaves, I fused and stitched the leaves to felt.  For the Maple leaves, I used 2 different fabrics for each leaf, and left a narrow bit of felt showing for the main vein.  Then I free-motion stitched the leaf veins and around the edges.  Fortunately I had just enough of the olive colored felt left for these leaves.

leaves-stitched-to-feltleaves-stitched-to-felt-back2-more-leaves-on-felt


I’m very pleased with my idea to fuse and stitch the leaves to felt.   In addition to adding dimension, it’s much easier to do the free-motion stitching on a small piece of felt, rather than on the whole quilt!  I can, and do, free-motion quilt in any direction, but if possible I like to turn my quilt so that I’m stitching toward myself.  It feels like I have more control.

This process also gave me the option of  rearranging the position of the leaves, and adding more leaves as I worked on the piece.   As you can see below,  I changed my mind a few times about the number and positions of the leaves.

terryaske_maplerefections_leaf-placement-decisions


Once the leaves were finalized, I pinned them to the quilted background, then positioned the purple bias tape.  I was able to stitch it down without removing the leaves – I just lifted each leaf out of the way as I stitched.  Then, I quilted each leaf to the background, stitching through the middle vein and around the edges.

While working on this quilt, I started wondering exactly what type of maple tree these were from.  I took a break from quilting to do some Internet research, and I’ve concluded that it’s an Amur Maple.  This first image below is the photo I took in Victoria BC.  The others I found on the Internet – click on each one to see the website it’s from.

Maple leaves Victoria BC  

  Amur Maple Leaf


Here’s a photo of both my Reflections quilts together.  Each is 12 x 24 inches.  I think they look great as a diptych, but it’s unlikely they will be displayed together.  There are over 70 entries for this exhibit!  Those of us who opted to make 2 entries, will have only one on display.  If the first one sells, then the second one will be hung.

terryaske_maplereflections_ginkgoreflections


And here is a detail shot.  The reflections were cut from the trimmings of the leaves.

aske_terry_maple_reflections_detail


Thanks for stopping by.  I’m linking up with these blogs – click on the links below, where you’ll find many other creative and inspirational projects.

Creations by Nina-Marie    Confessions of a Fabric Addict

Posted in Art quilts, Quilt shows | Tagged , , , , | 5 Comments

Botanical Reflections – part 2 – 2016.12.07

In my last post, I showed my progress on my 2 entries to the next Fibre Art Network (FAN) exhibit, ‘Botanical Reflections’.

I have completed the first one, ‘Ginkgo Reflections’.   It includes several of my favorite design elements – circle shapes, leaves and bright colors.  In nature, Ginkgo leaves are a beautiful lime-green, turning golden-yellow in the fall.  I opted to make mine in bright, fanciful colors.

aske_terry_ginkgo_reflections_full_view


Here’s some information about how I made it.  I made freezer paper templates for the quarter-circles and background.  I pressed the seam allowance of each quarter-circle over the edge of the template, then machine appliqued them to the background pieces.  I quilted the background before adding the leaves.  I didn’t quilt the bottom section where the reflections are fused until after I attached the leaves.

To give the leaves some dimension, I fused them to felt, then free-motion stitched the leaf veins. I cut each leaf with a narrow border of felt.

ginkgo-leaves-stitched-to-felt


The branch is made from a piece of purple bias tape.  As you can see, I changed my mind several times about the placement of the individual leaves.  After I finalized the position of the leaves, I attached them by quilting the narrow felt border of each leaf.  Then I cut small pieces of fused fabrics for reflections.  After fusing them in place, I finished quilting the bottom section.

  terryaske_gingko-reflections-in-progress terryaske_ginkgorefections_in-progress  aske_terry_ginkgo_reflections_full_view


Here’s a photo that shows the quilting really well.

terryaske_ginkgoreflections_quilting


Now I’m working on my second entry – ‘Maple Reflections’.  For this one, I decided to quilt circular lines on the top half.  You can see that I cut the batting from each corner, to reduce bulk, as explained in my tutorial about facing quilts.

terryaske_maplerefections-background_quilted  terryaske_maplerefections_leaf-placement


I’m just starting to select fabrics for the Maple leaves, but they will also be bright.  I’ll use the same techniques as described above.  Check back in a day or two to see my progress on this one.

Thanks for stopping by.  Today, I’m linking up with these blogs – click on the links below, where you’ll find many other creative projects to inspire you.

   Esther’s Blog   Sew Fresh Quilts


Posted in Art quilts, On my design wall, Quilt shows, WiP Wednesday | Tagged , , , , , , | 6 Comments

Botanical Reflections – 2016.12.04

‘Botanical Reflections’ will be the next Fibre Art Network (FAN) exhibit of mixed media fibre art.  Each piece will measure 12″ x 24″ in either a landscape or portrait orientation.

‘Botanical Reflections’ will debut at VanDusen Botanical Garden in Vancouver on January 27, 2017 and continue through until March 15, 2017.  VanDusen is an internationally recognized garden and display venue, focusing on native plants and materials in a 22 hectare setting.  The exhibit will be shown in a gallery adjacent to the public admission area.

I signed up to make two entries for this exhibit.  I considered a variety of themes and techniques, before deciding on a somewhat abstract presentation with my favorite design element – the circle – or in this case, a half-circle.

My inspiration for my first piece is this photo of a Ginkgo branch, that I took in Naramata at the 2011 FAN Retreat.   For the background, I selected 4 blue-green Batiks.  The bottom half is intended to look like water, the top half like trees.   I’m portraying the Ginkgo leaves in bright colors.  I’m calling this one ‘Ginkgo Reflections’.

ginkgo-tree-naramata  terryaske_ginkgo-reflections_background  terryaske_ginkgorefections_in-progress

My second entry will be similar – same background fabrics, similar circle, and similar colors for leaves.  The inspiration is this photo of maple leaves that I took in Victoria BC in November 2011.  It will be called ‘Maple Reflections’.

Maple leaves Victoria BC  terryaske_maplerefections-background


I’ll be working intensively on these 2 entries for the next few days, because the deadline to finish them and submit photos is December 15th.


Thanks for stopping by.  I’m linking up with these blogs – click on the links below, where you’ll find many other creative and inspirational projects.

Creations by Nina-Marie    Confessions of a Fabric Addict

Posted in Art quilts, Quilt shows | Tagged , , , , , | 4 Comments

Mistletoe postcard exchange – 2016.12.02

In December 2014, I participated in a Snowflake fiber postcard exchange organized by Brandy Lynn of Quilter on Fire.  It was a lot of fun to make the postcards, and even more fun to receive postcards in the mail.

Terry Aske  Snowflake postcards received


Brandy has organized another exchange this year, with a Mistletoe theme.  I signed up to make 3 postcards.  Here they are.

terry-aske_mistletoe-postcards  terry-aske_mistletoe-postcards-with-santa


Here’s how I made them.  Note that throughout the construction process, I used parchment paper when pressing to avoid fusing pieces to my iron.  Click on any photo to see a larger image.

I used a firm double-sided fusible stabilizer, and wrapped the background fabric around to the back.   For the leaves, I applied Mistyfuse to the back of small pieces of dark green and chartreuse dupioni silk.   I drew mistletoe leaves on freezer paper, cut out the shapes and ironed them to the front of the silk.  Then I cut around the freezer paper.  I positioned the leaves on the postcard, then fused the darker leaves.

background-fabric-wrapped-to-the-back  fp-leaves-ironed-onto-silk  positioning-leaves

Then I positioned the chartreuse leaves with the red ribbon under the stem.  I stitched the chartreuse leaves with gold thread.

leaves-fused-over-ribbon-stitched

For the back of the postcard, I used the template I designed in Excel in 2014, and printed it on ivory-colored linen-blend paper.  I fused the paper to the back, covering the raw edges of the fabric.  From the front, I stitched around the edges through all the layers.

After a final pressing, I tied the ribbon in a bow and added some gemstone stickers as the mistletoe berries.  With these embellishments, I’ll have to mail my postcards in envelopes, rather than ‘naked’ through the postal system.

gemstone-stcikers-as-berries  terry-aske_mistletoe-postcard-3


Thanks for stopping by.  I’m linking up with these blogs – click on the links below, where you’ll find many other creative and inspirational projects.

Creations by Nina-Marie    Confessions of a Fabric Addict


Posted in Art quilts, Tutorial | Tagged , | 2 Comments

Taking photos and entering quilts – 2016.11.30

I’ve made comments in my last couple of posts about the difficulty of taking good photos of quilts when the weather is dark and gray.  On Monday, we finally had some sun, so I took photos of my 3 entries for the SAQA exhibit titled H2Oh!.  The entry deadline is today – November 30.

I take photos of my quilts on my design wall – it’s on wheels, so I can roll it wherever the light is best.  It has 2 sides – one covered with light gray fabric, and the other with dark gray.  When I am taking photos that would be better against a white background, I pin a length of white flannel to the design wall.

I pinned up the first quilt, and started rolling the wall around to find a location with even lighting – no shadows or bright spots.  I quickly discovered that the light from the window was too bright!  So I turned the design wall away from the window and starting taking photos.  I discovered that when I use my Nikon camera, with the white background, I don’t need very much light – so in the future, I don’t think I’ll have to wait for sunny days.  (I had been taking photos against a gray background with my iPhone camera, which does seem to need more light.)

Once I had the lighting sorted out, I spent a couple of hours taking photos, loading them on the computer, checking for focus, straightening, cropping, etc.  As the SAQA prospectus notes “We encourage you to send the best photos you can. Remember that the images you send are the only representations of your work the juror will see when considering your entry. . . . Furthermore, if you are selected for the exhibition, your submission photos will be used for the exhibition catalog. Therefore, your images need to be of the highest possible quality.”

I firmly believe there is no point in spending many, many hours creating an art quilt, then rushing the photography, so I allow a few hours to complete that part of the entry process.

Once I had satisfactory photos, artist statements written and re-written, and titles for all of the quilts, I submitted my 3 water-themed entries.  Now I’ll have to wait until mid-January to see if any of them will be accepted.

Here are my three entries to H2Oh! – theme ‘Water – it’s everywhere!’

The first is an art quilt I made a few years ago, titled ‘Reflections on a Blue Day’.   It’s based on a photo I took of the Fraser River, which flows past my home in New Westminster.  I love to watch how the river’s color and mood change from day to day.  On a sunny day when the river is calm, the reflections of the blue sky appear to float gently on the surface of the water.  Techniques are: fused raw-edge applique, free-motion quilting, and has faced edges.  Size is 29 x 40 inches.

terryaske_reflections-on-a-blue-day_full


My second entry was made in October.   ‘Rain, with a Chance of Sun’ is an abstract interpretation of a typical Vancouver winter day – mostly dark, gray and rainy – with the chance of occasional sunny periods.  It’s machine-pieced and quilted with a walking foot.  The yellow reflections are fused.   It’s 20 x 29 inches.

terryaske_rain-with-a-chance-of-sun


My third entry is ‘Golden Reflections’, which I made in November – see more information about my process here.  I printed a computer-enhanced photo on fabric, then quilted it with poly-sheen thread and painted some of it with watercolor pencils.  It is 12 x 24 inches.

terryaske_goldenreflections


Thanks for stopping by.  Today, I’m linking up with these blogs – click on the links below, where you’ll find many other creative projects to inspire you.

   Esther’s Blog   Sew Fresh Quilts

Posted in Art quilts, Quilt shows | Tagged , , | 3 Comments